 Manage graphics in FirstClass Manage graphics in FirstClassMinimum version: FirstClass 8.3 Audience: All users Experience:  Features applications used:
 ConferencingMail rules ConferencingMail rules Summary SummaryWould you like to make your conferences, messages, and documents look more interesting and attractive? Use your favorite images as conference backgrounds by placing them in the Rules and Resources folder of a conference. Use the Format Background feature to customize the appearance of your messages and documents.
ExampleJohn Smith teaches English at Avalon Academy for grades 7 through 12. He likes to lighten things up by adding backgrounds and images to his class conferences. He also enjoys using funny images in the messages he sends his students.
Select the graphics to use
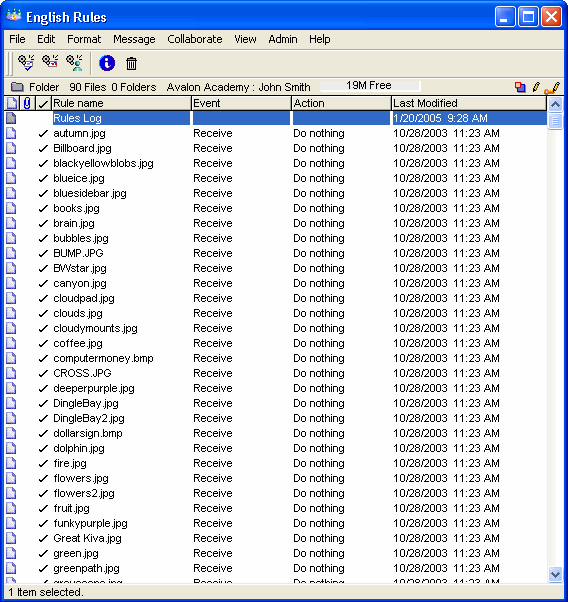
John collects all of his favorite graphics and stores them in the Rules & Resources folder of his English conference so he can find them easily. He accesses this folder by opening or highlighting his English conference, and then choosing Collaborate > Rules from the menu.
In this folder he includes landscapes, icons, fun graphics, educational graphics, self-designed graphics, and other images that interest him:
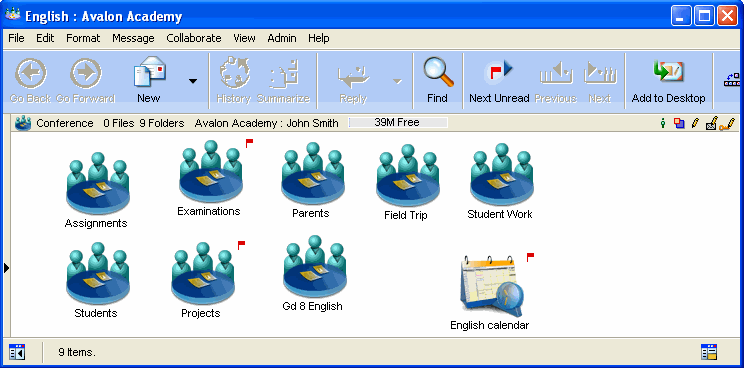
 Adding a background to a conference John thinks his English class conference looks too bland. He wants to make the conference look more interesting and visually appealing by adding a background. These are the steps that John follows: 1 He opens the English conference. This is what it currently looks like:
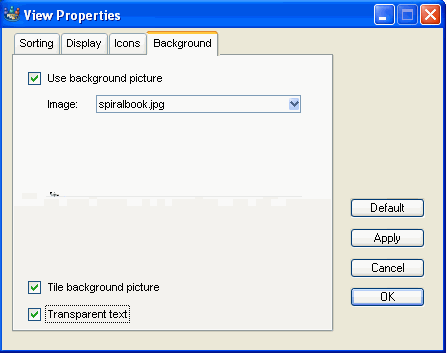
 2 John chooses View > Change View Properties.
3 From here, he clicks the Background tab and selects the desired background image from the dropdown list.
4 He then selects "Use background picture", "Tile background picture" (the image will be repeated to cover the entire background), and "Transparent text" (object names will appear without a white box around them).
 The next time one of John's students opens the conference, a file transfer window will appear to show that the new images are downloading to his settings file:
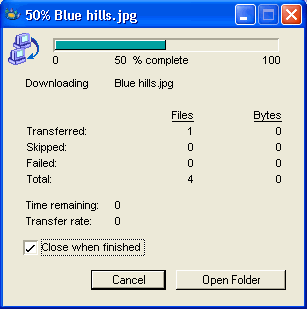 The student will be able to see the new conference background once the new images are downloaded (this should only take a few seconds the first time the student opens the conference).
This is what the English conference looks like after John applies a background image: 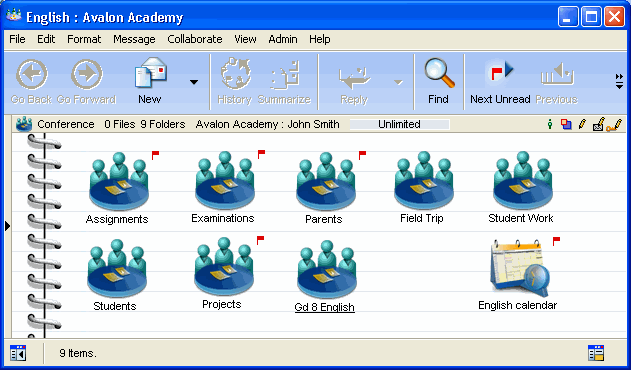 Adding a background to a document
John decides that he also wants to add a background image to a welcome document he plans to make available to parents in the Parents conference. First, John chooses the image he wants from the Rules and Resources folder for his English conference, and downloads the graphic to his OS desktop. Next, to add the background to the document, John chooses Format > Format Background from the document menu. From here, he selects "Use image", then clicks Browse and chooses the desired graphic from his OS desktop: 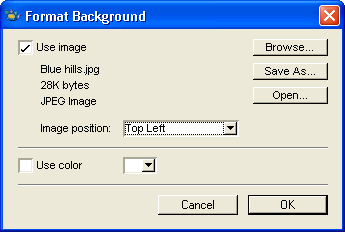 At Image position, John can set the background image to be displayed in the top left corner of the document window, or he can have the background appear as a tiled image. John can also select " Use color" and a color from the color selector to set a background color in the document.
This is the document he created: 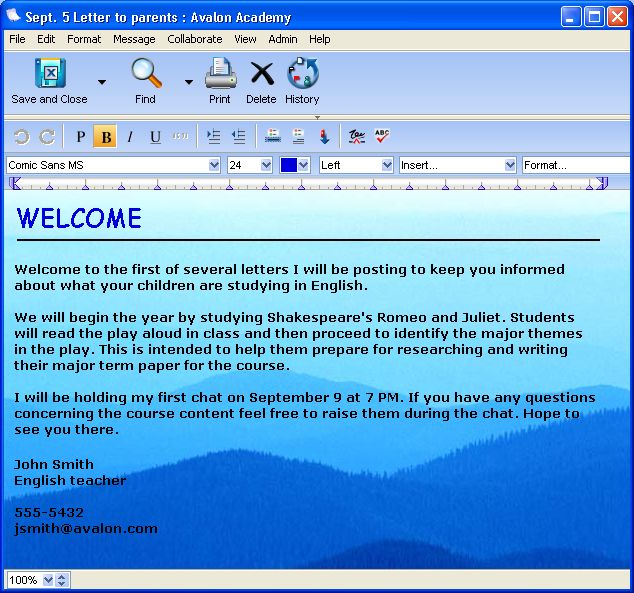 Parents do not need to store the background image on their hard drives to see it in the document because the image is stored with the document right in FirstClass.
Inserting graphics into messages John likes to add fun graphics to his messages. He can add graphics in one of two ways:
• copy and paste
He can copy and paste an open graphic from any location on his computer (such as a web site or FirstClass).
• drag and drop.
He can drag and drop graphics from his hard drive directly into the message.
This is a message John sent to his students that includes some of his favorite graphics:
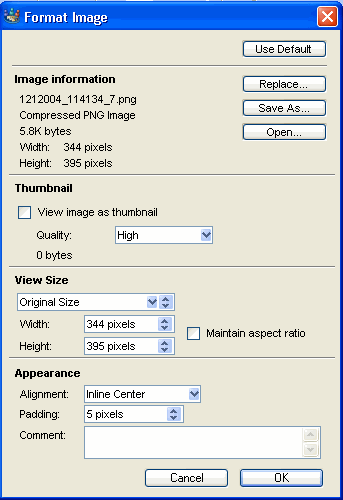
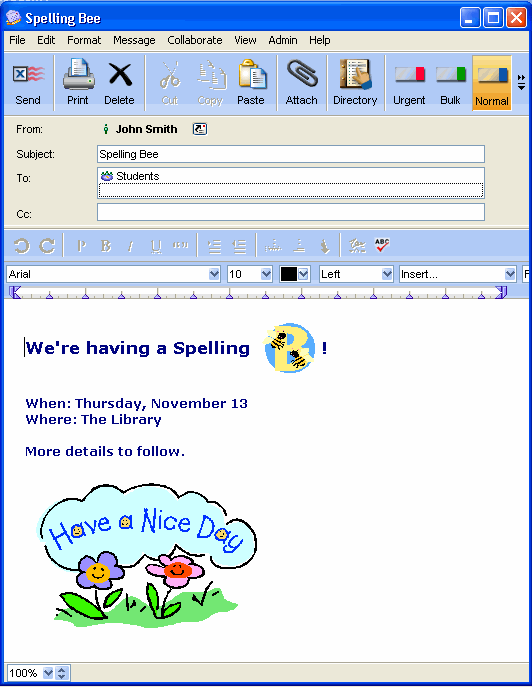 If John wants to format an image he pasted into a message or document, he simply selects the image and chooses Format > Format Image. From the Format Image window, he can customize the alignment, padding, size, height, and width of the image:
 | ||