 Understanding FirstClass ED Understanding FirstClass EDContents FirstClass ED is a classroom tool that is built on FirstClass technology. FirstClass ED unites, automates, and extends the inherent features of FirstClass, making it a powerful online course deployment server.
This tool makes online learning both student and teacher friendly. Content creation is as simple as point and click, drag and drop. It lets you manage content with search and retrieval capabilities, and facilitates sharing of units of study, lesson plans, assessment materials, student contributions, archived lectures, and meetings.
 A classroom tour A classroom tourIn addition to the standard FirstClass icons on each Desktop, there is a My Classes area. This is the door to FirstClass ED.
When a teacher enters the My Classes area, he sees all of the classes he is teaching for the current semester. When a student enters the My Classes area, she sees all of the classes she is taking for the current semester.
This is a teacher's view of the My Classes area.
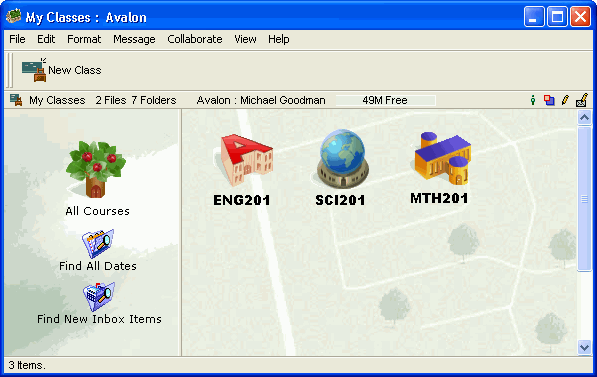 From here, the teacher can access any of his classes, create a new class, or perform a search for specific information such as new assignments that have been submitted. From here, the student can access any of his classes, or perform a search for specific information such as new assignments that need to be completed. From here, the teacher can access any of his classes, create a new class, or perform a search for specific information such as new assignments that have been submitted. From here, the student can access any of his classes, or perform a search for specific information such as new assignments that need to be completed. There is a public "classroom" area for each class that is offered in a current semester. Within each class, there are a number of areas that are available to both the teacher and the students. The class may include any combination of these areas, depending on the permissions that the administrator has set up.
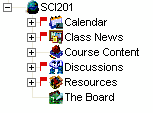 Calendar
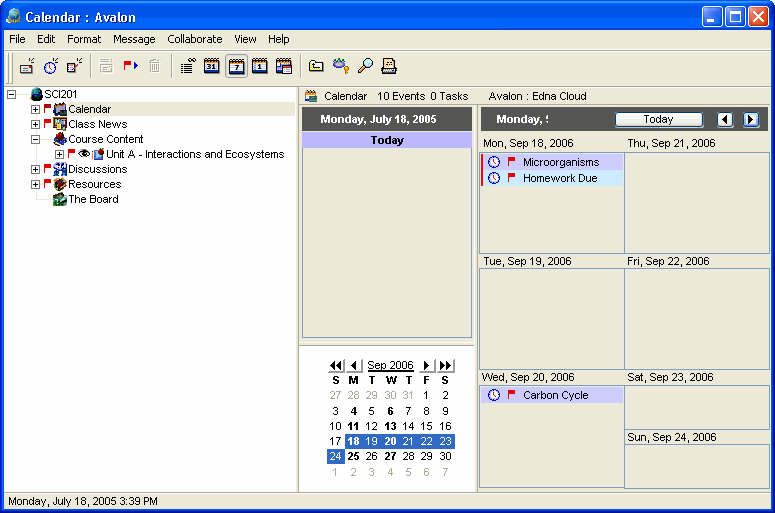
The Calendar is used to record milestones and due dates for homework and projects, as well as make note of upcoming events. The student view is read only.
 Class News
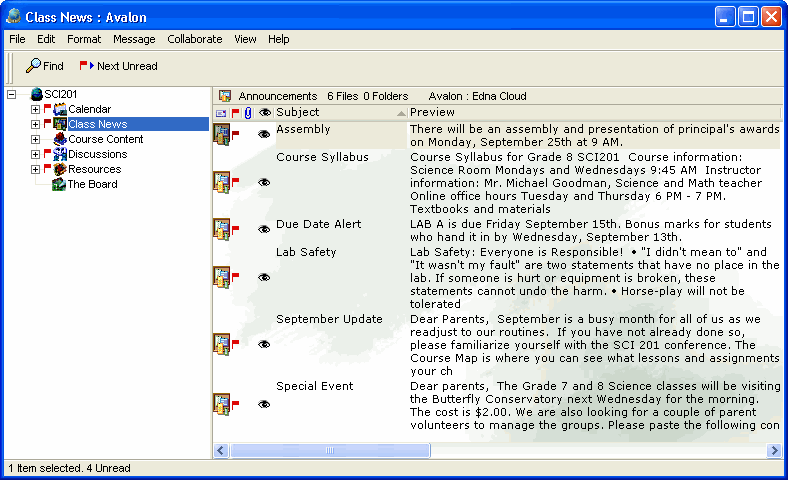
The Class News area contains information that should be read daily, such as special events, class announcements, upcoming due date alerts, and assemblies. The teacher controls when each news item is published.
 Course Content
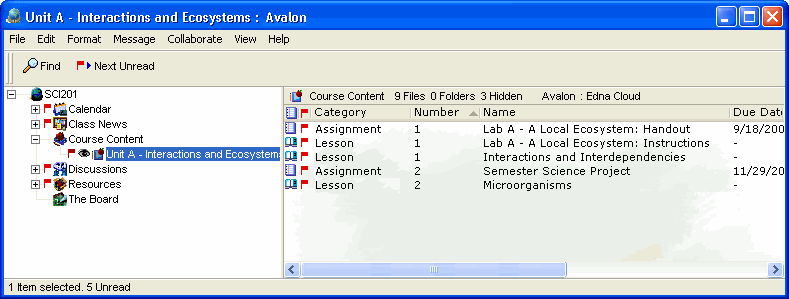
The Course Content area contains topics that are being covered in the class. Within each topic are lessons and associated assignments the teacher has published. From here, students can view lessons that are being or have been taught, as well as start assignments by opening the appropriate assignment and clicking Start.
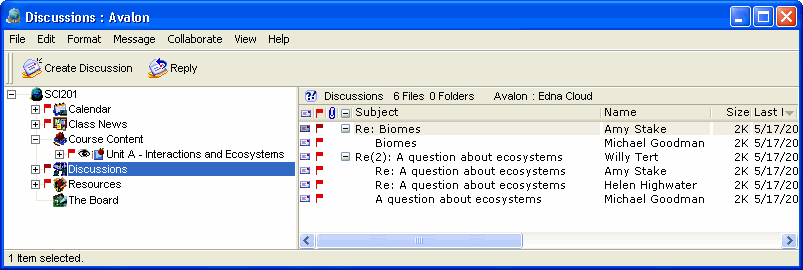
 Discussions The Discussions area is a container where students can communicate with each other and collaborate on work, and where the teacher can post information and questions for discussion.
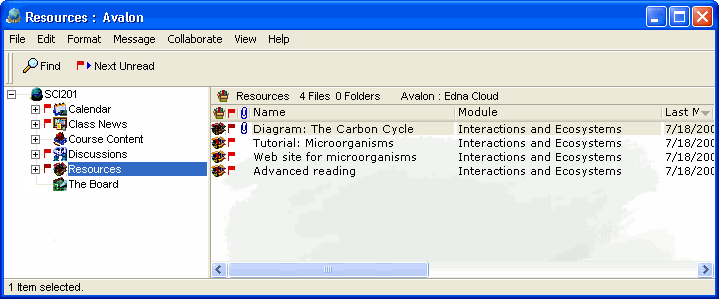
 Resources The Resources area contains additional information for students that relates to lessons that are being taught. The teacher may post additional work for extra practice, advanced work for a challenge, recommended reading, suggested web sites, and so on.
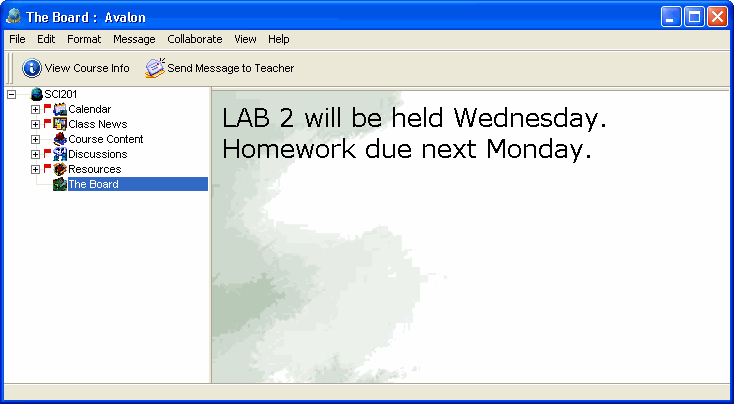
 The Board This is the teacher and students' initial view of the class, similar to the chalkboard or whiteboard that students see when they enter their physical classroom. The teacher should use this area to post urgent messages, formal announcements, reminders, or anything else the teacher feels is appropriate.
 The teacher's desk The teacher's deskIn addition to the public area of the class, the teacher has additional areas that are private to her own view: a Class Inbox and a Roster. In addition, unpublished assignments and lessons can be maintained in the Course Content area. These lessons and assignments are not visible to students until the teacher publishes them.
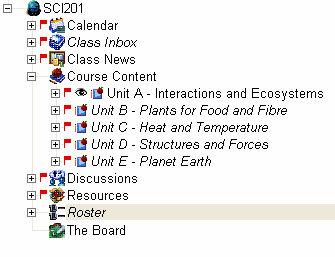
Anything that is not visible to students is in italics. You can see in the image below that the Class Inbox, Roster, and unpublished units are all in italics.
 How assignments work
Students start an assignment by opening the assignment in the Course Content area and clicking Start.
 A copy of the assignment is automatically created and stored in their Mailbox. Once they start the assignment, the Start button changes to a Hand In button. Once students complete the assignment, they click Hand In to send the completed assignment to the Class Inbox. A copy of the assignment is automatically created and stored in their Mailbox. Once they start the assignment, the Start button changes to a Hand In button. Once students complete the assignment, they click Hand In to send the completed assignment to the Class Inbox. The Class Inbox is where completed assignments are received from students and marked. Marks that are given to an assignment are automatically updated in the student roster. Messages from students are also sent here. 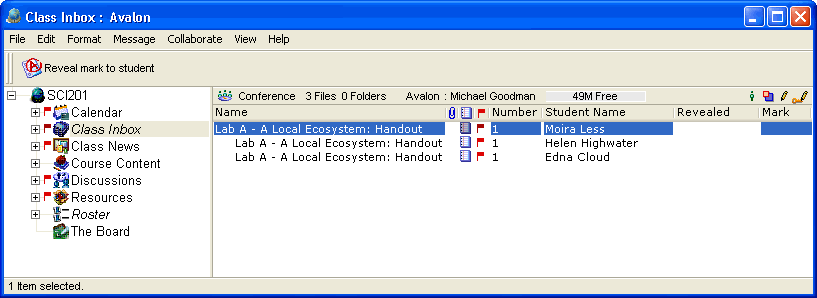 From the Inbox, the teacher can open any submitted assignment, assign a mark and add comments directly in the body of the message. The teacher controls when the assignment is revealed to students. If she wishes, she can reveal all of the marks at once. 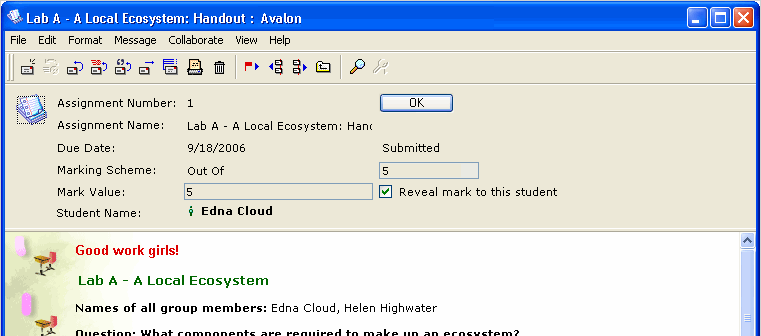 When the teacher reveals the mark to students, the assignment is flagged in their Mailbox. Class Roster
The class Roster displays a list of students in the class. From here, the teacher can add or remove students, view student information by double-clicking a student, track the status of students who require special assistance, create a seating chart, and view and add marks. At a glance, the teacher can see information about each student (for example, performance level or medical issues).
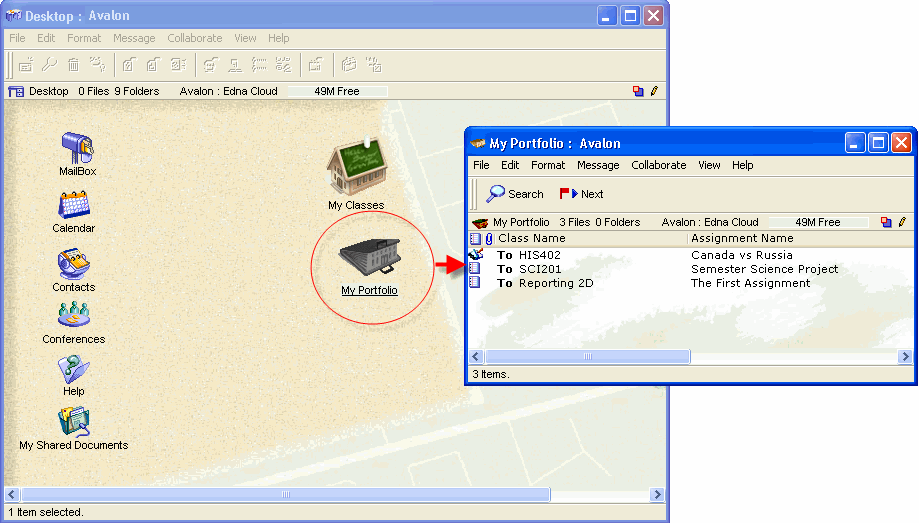
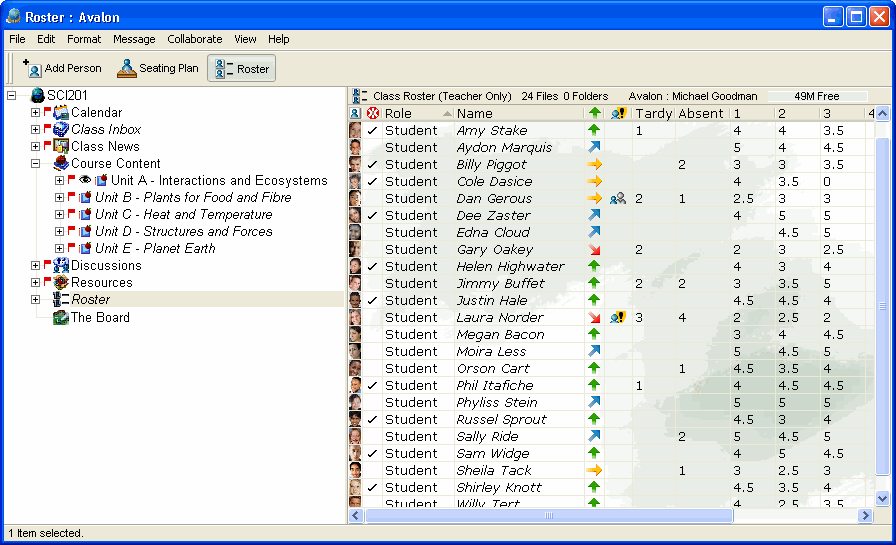 From the class roster, teachers can create or view their seating plans. 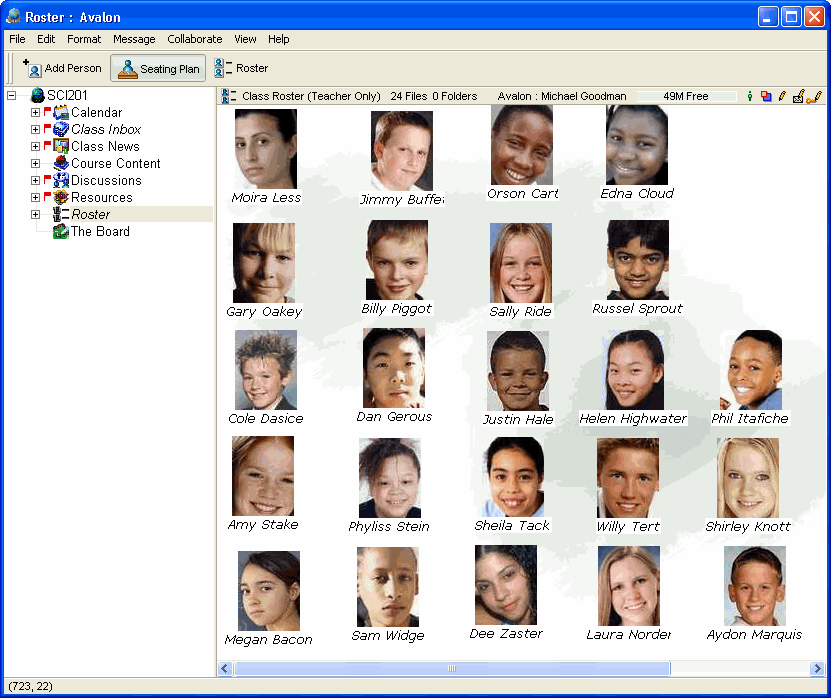 The student's Portfolio The student's Portfolio The student's Portfolio is a collection of work the student has completed. It may showcase student achievement, or provide a sample of current work. Work is added to the Portfolio by being dragged from the Mailbox.
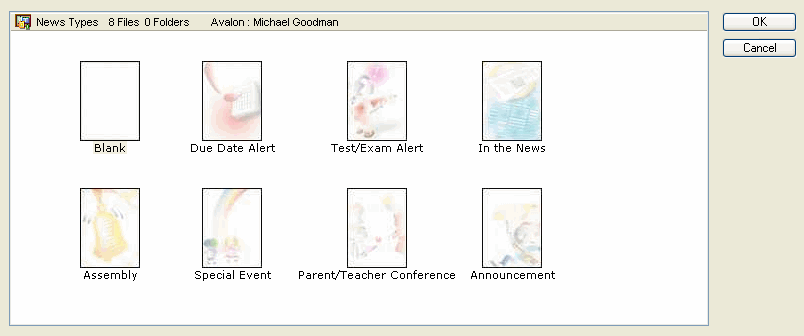
 Creating new items Creating new items When the teacher creates a new item in the Course Content, Class News, Discussions or Resources area, she chooses from a set of predefined templates. This determines which background will be displayed.
 | ||